Effortlessly Manage Your Gmail: Automate Email Deletion
Written on
Chapter 1: Introduction to Email Management
In my quest to expand my knowledge as a developer, I recently subscribed to numerous newsletters. However, this led to a new challenge: my inbox quickly became inundated with emails, making it difficult to manage them. To tackle this issue, I sought a method to automatically delete these emails after a certain duration.
Automation with Google Services
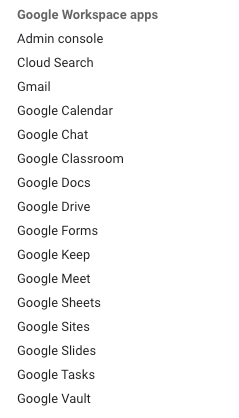
What's particularly beneficial is that the scripting language used is JavaScript, which makes writing scripts quite straightforward. You can code directly in your browser, and it offers helpful autocompletion features.
Chapter 2: Creating Your Email Deletion Script
Now, let's dive into creating a script that will scan a specific Gmail folder and remove any emails older than seven days.
Creating a New Project
To begin, initiate a new project:
Once the project is set up, you’ll see an empty editor with a single file available:

You can rename your project by clicking on "Untitled project" at the top of the page. Now, let's begin coding. The first step is to retrieve the list of emails in your designated label—I'll be using "Dev Newsletters," but feel free to select any label that suits your needs. It’s essential that your emails are organized into a specific folder, which can be accomplished by setting filters in Gmail.
Getting Our Emails
The next step is to fetch the emails in your selected folder. This is simpler than it sounds!
We’ll also need to set a date limit to compare against the emails and identify the ones that are too old.
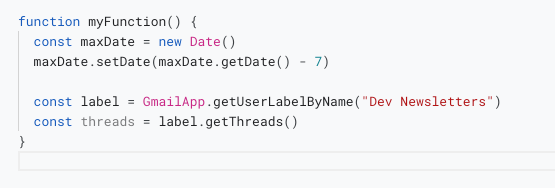
By establishing this limit, we can effectively target emails that are older than seven days for deletion.
Testing the Script
After finalizing your script, save your work by clicking on the save icon or using the standard shortcut.

Next, click "Run" to execute your script. The dropdown menu allows you to select which function to run; if you change the function name, it will automatically update in the dropdown.
Deploying Your Script
To deploy the script, click the deploy button at the top right and select "New deployment."
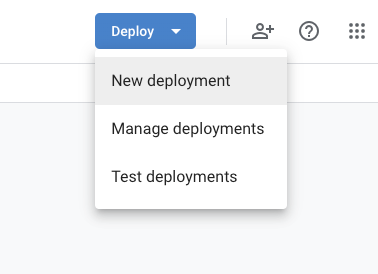
In the deployment type, click the options icon and select "Web app."
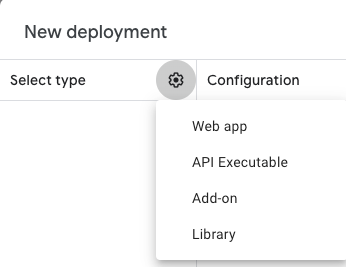
Give your app a name and proceed to deploy it. You may be prompted to authorize the script to access your data. Although you may encounter some "unsecure" warnings since it's a developer feature, it's all handled by Google, so there's no need to worry.
Triggering the Script
After deployment, you’ll want to set up a trigger for the script. Navigate to the triggers page.
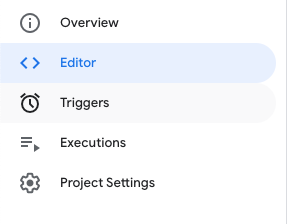
At the bottom right, there’s a button to create a new trigger. Click it.
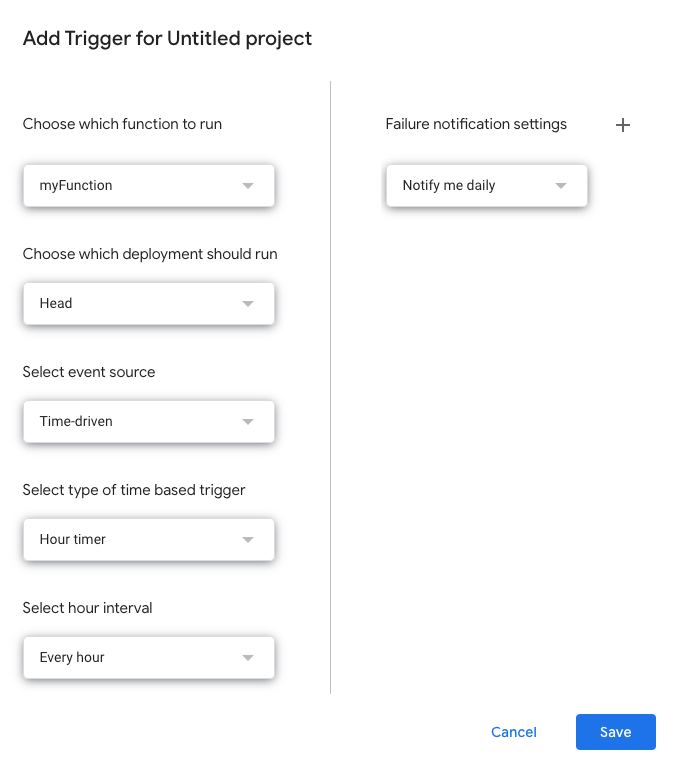
A popup will appear, allowing you to configure the script to run on an hourly basis. Adjust the settings to meet your specific needs and click "Save."
Checking Script Execution
Lastly, let’s confirm that your script is executing as intended. Go to the executions page.
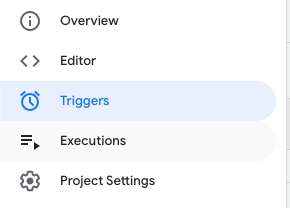
Here, you can view the logs of all executions. Since the script runs hourly, you may not see immediate results; just wait about an hour and check back to see if your script executed successfully.
And that’s all there is to it! I hope you find this guide useful. If you enjoyed this article, feel free to leave a clap or follow me to support my growth!
For more content, visit PlainEnglish.io. Sign up for our free weekly newsletter and connect with us on Twitter, LinkedIn, YouTube, and Discord. If you're interested in scaling your software startup, check out Circuit.
This video, titled "Awesome Gmail Trick: How To Automatically Delete Emails in Gmail," provides an insightful guide on how to streamline your email management process through automation.
In this video, "How to Have Gmail Delete Emails Older Than a Certain Date," you'll learn how to set up Gmail to automatically remove emails older than your specified timeframe.